
In light of the recent Covid-19 pandemic, you may be watching the news or seeing people at your local grocery store wearing a specialized face mask, better known as an N95 style mask. For this article, I will be referring to a N95 style respirator as a N95 mask.
It is possible that wearing a mask alone may be providing some respiratory protection, however, if you are failing to properly adjust the mask to your face it is likely that you are not receiving any more protection than if you were wearing no mask at all. Simply throwing a mask on your face, without properly adjusting it is not providing the level of protection that the mask is intended for or capable of. Proper placement of the mask straps, correct molding of the adjustable nose bridge and placement of the mask on your face are all necessary when wearing a mask in order to provide protection. The following steps will walk you through how to properly don an N95 mask so that you are fully protected.
Note: In order to wear an N95 or any tight-fitting mask properly, you must be clean shaven. Any facial hair including stubble will push against the mask seal and create a “leak”, thus preventing the mask from providing the level of protection it is intended for.
Note: It is important to properly clean your hands prior to putting on your mask.
Step one: Get the strap placement right
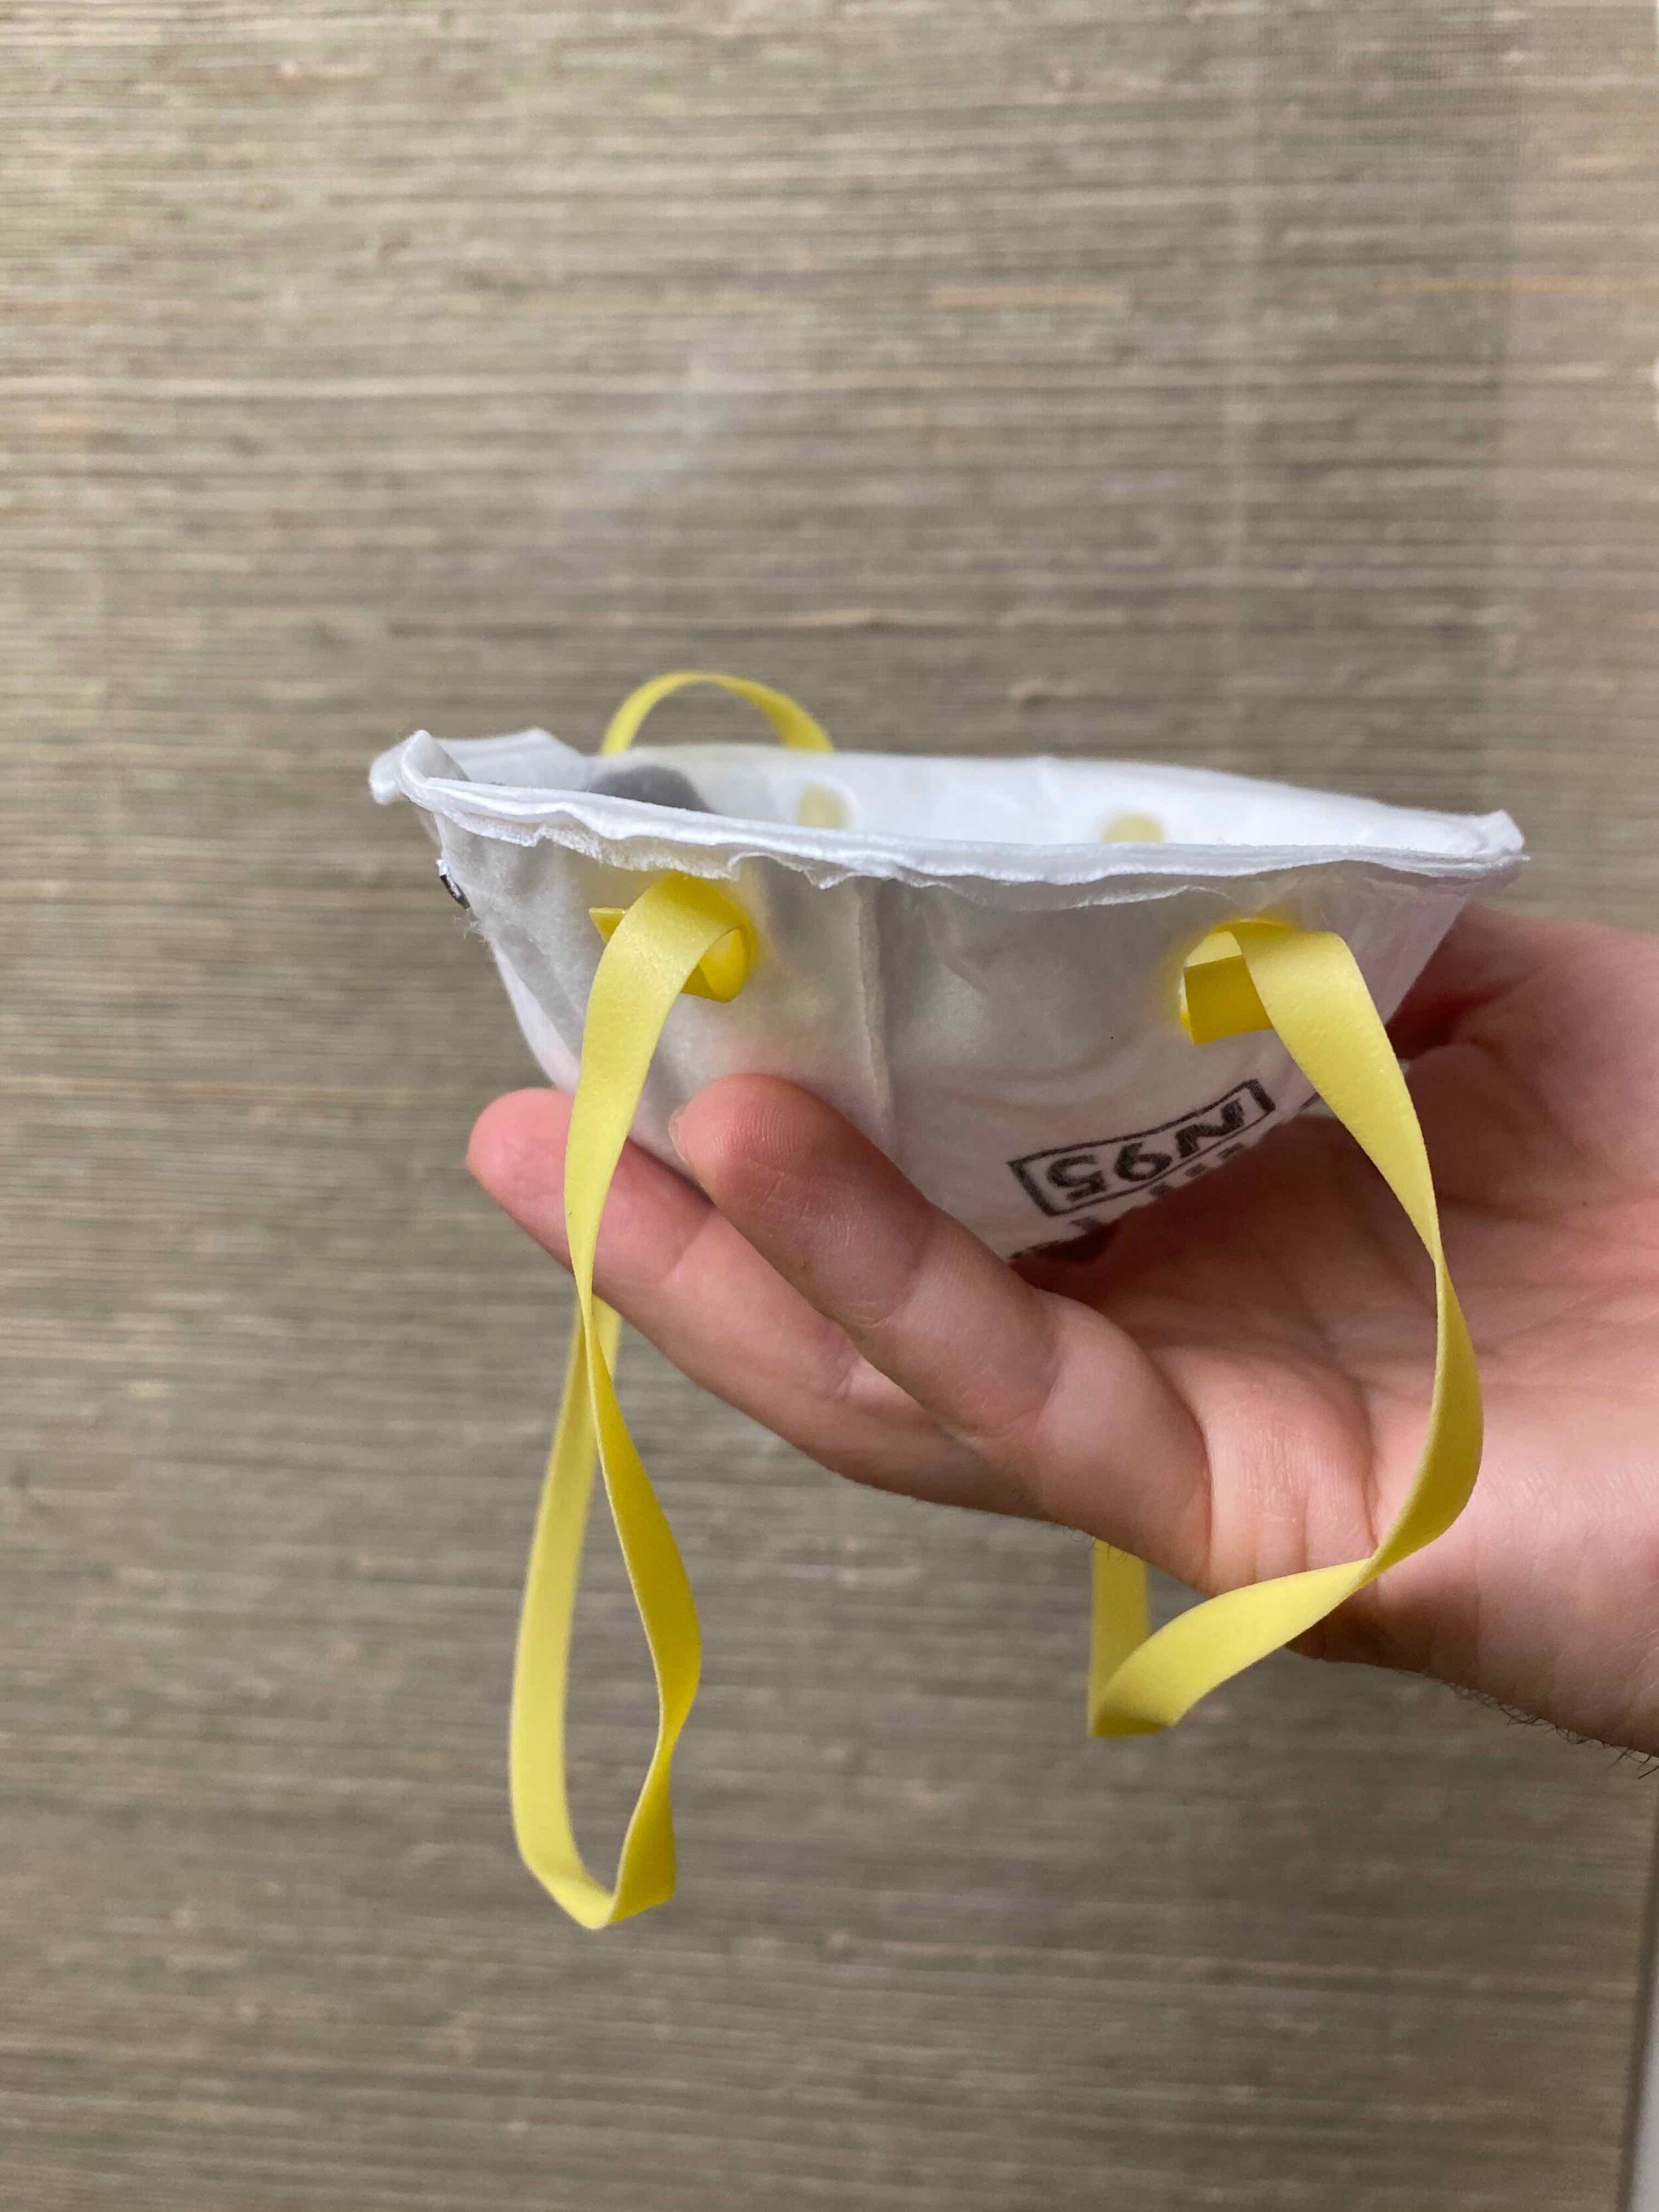
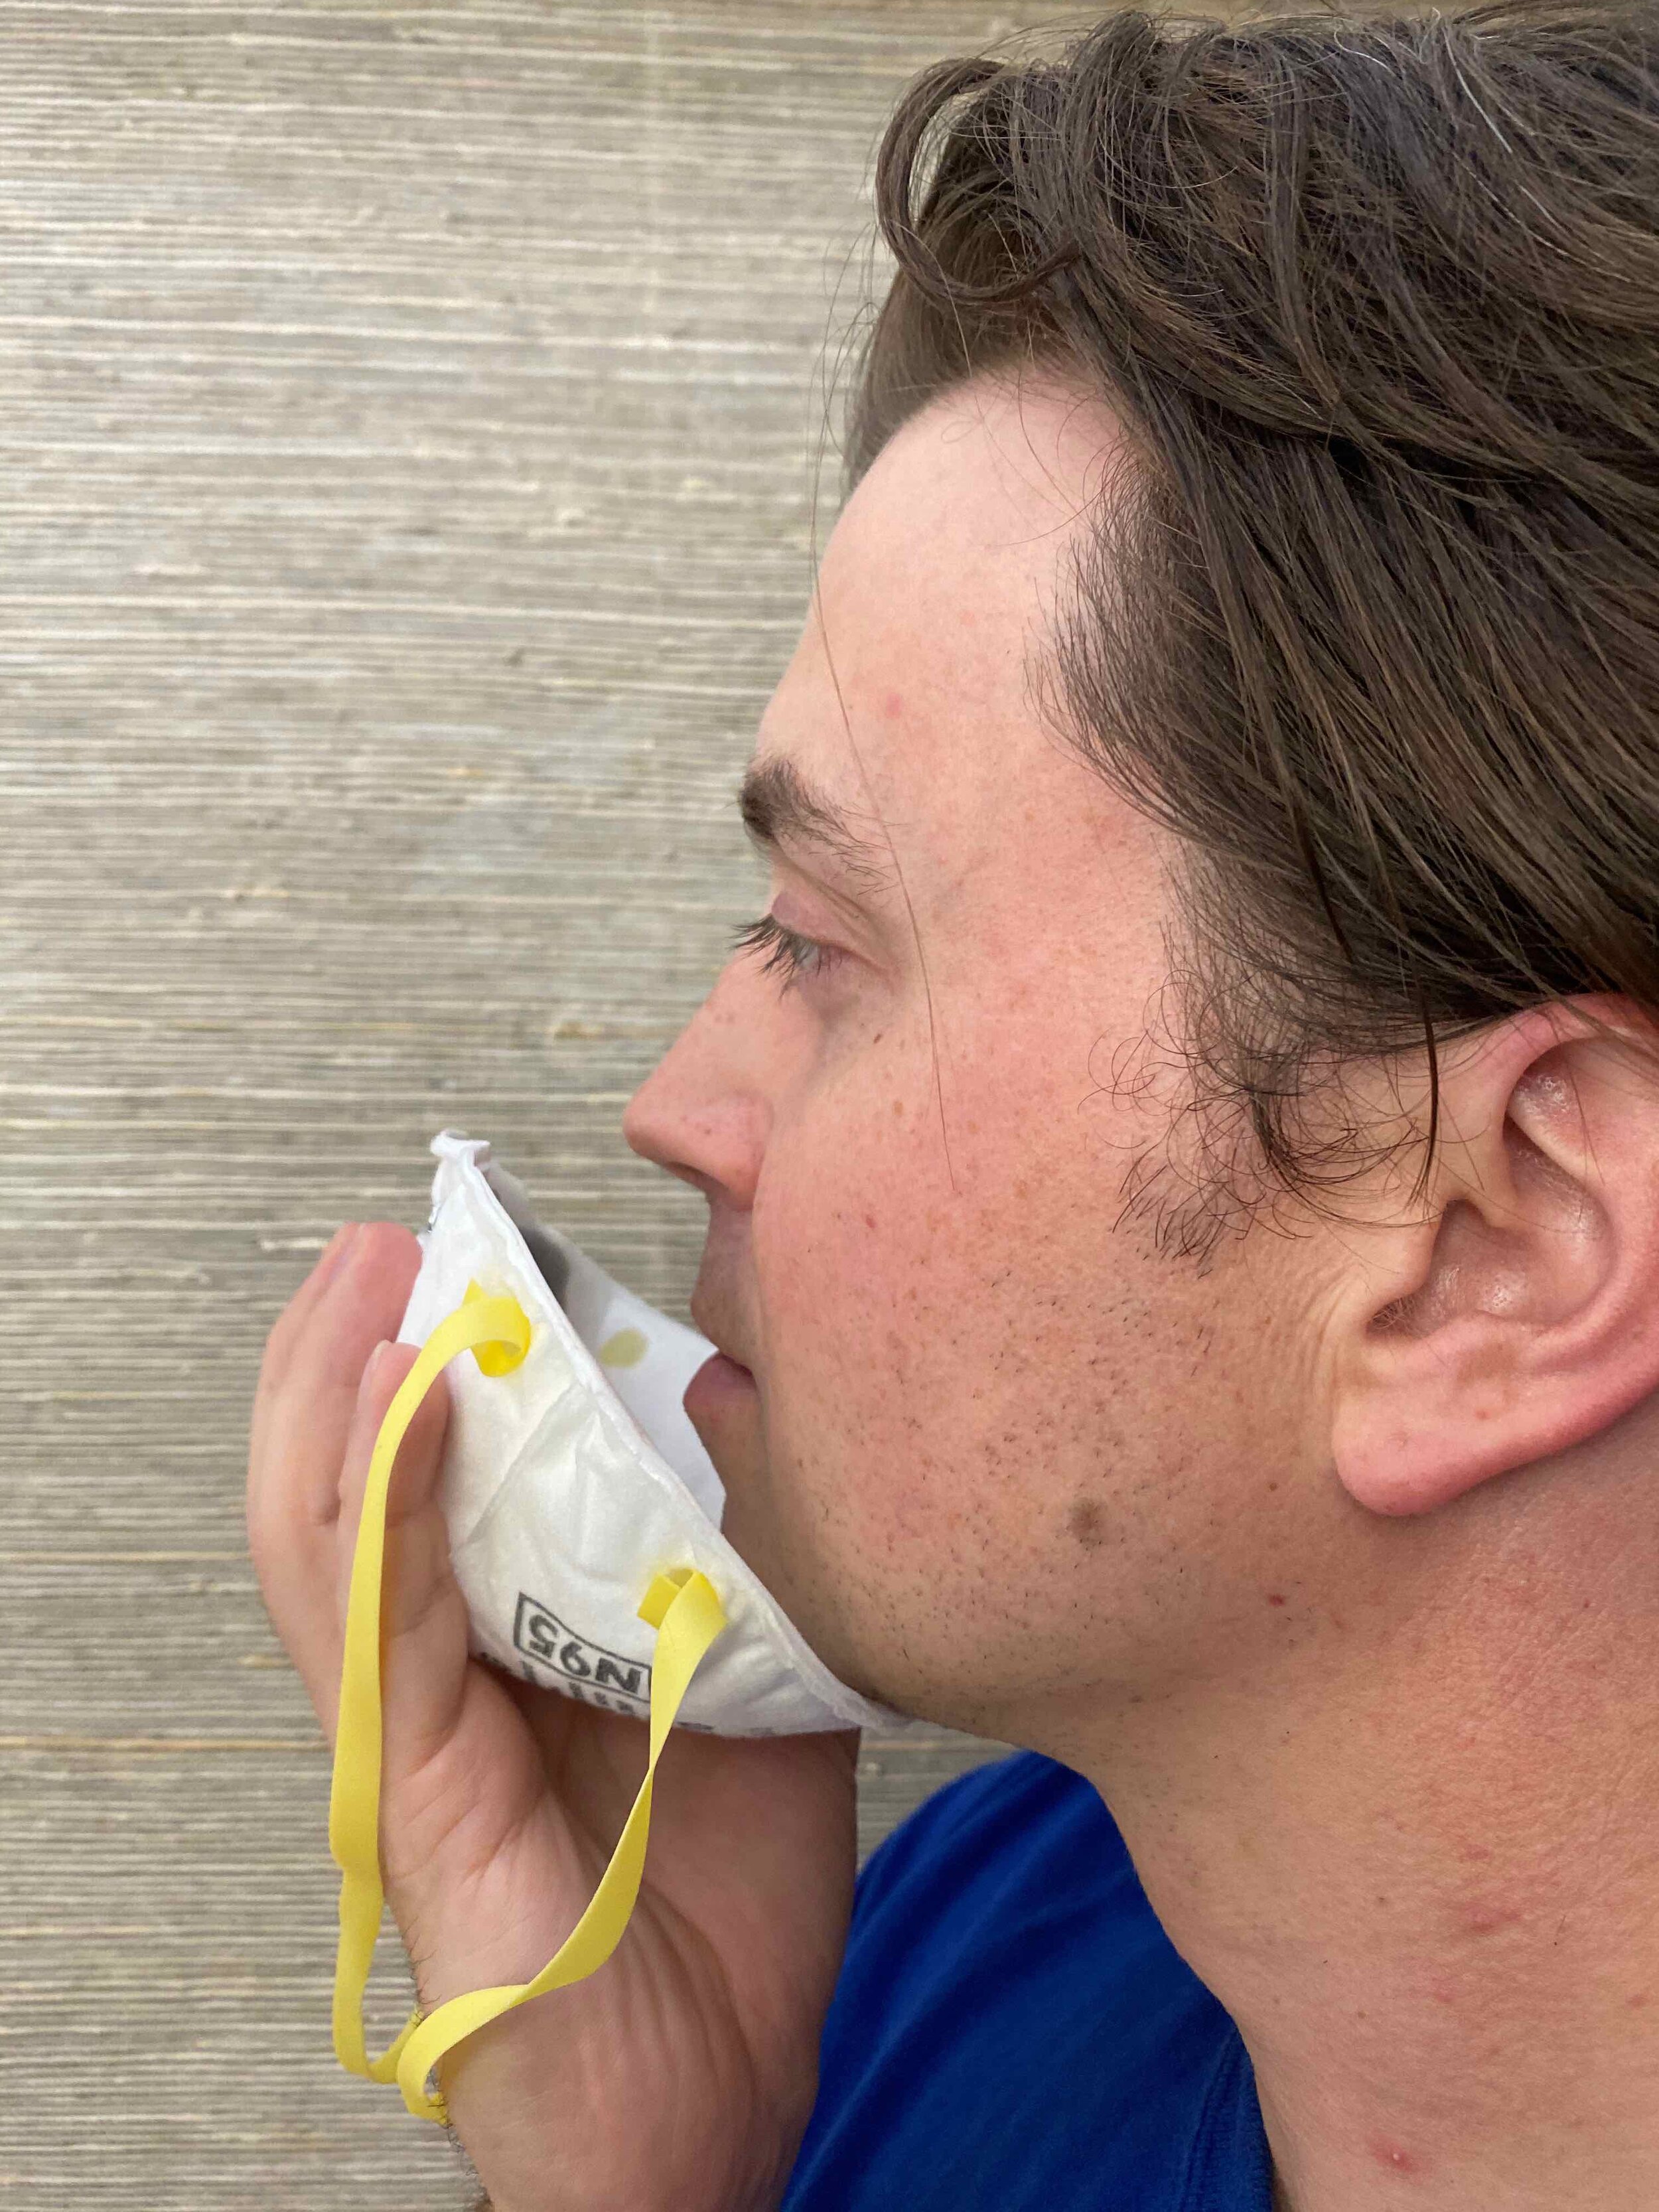
While holding the mask in one hand, move the elastic straps from the back of the mask to the front of the mask. You will see a bottom and top strap. With one hand holding the mask, place the bottom of the mask on your chin and bring the top nose bridge section of the mask to your face. The mask should be sitting flat on your face while you are holding it to your face with one hand.
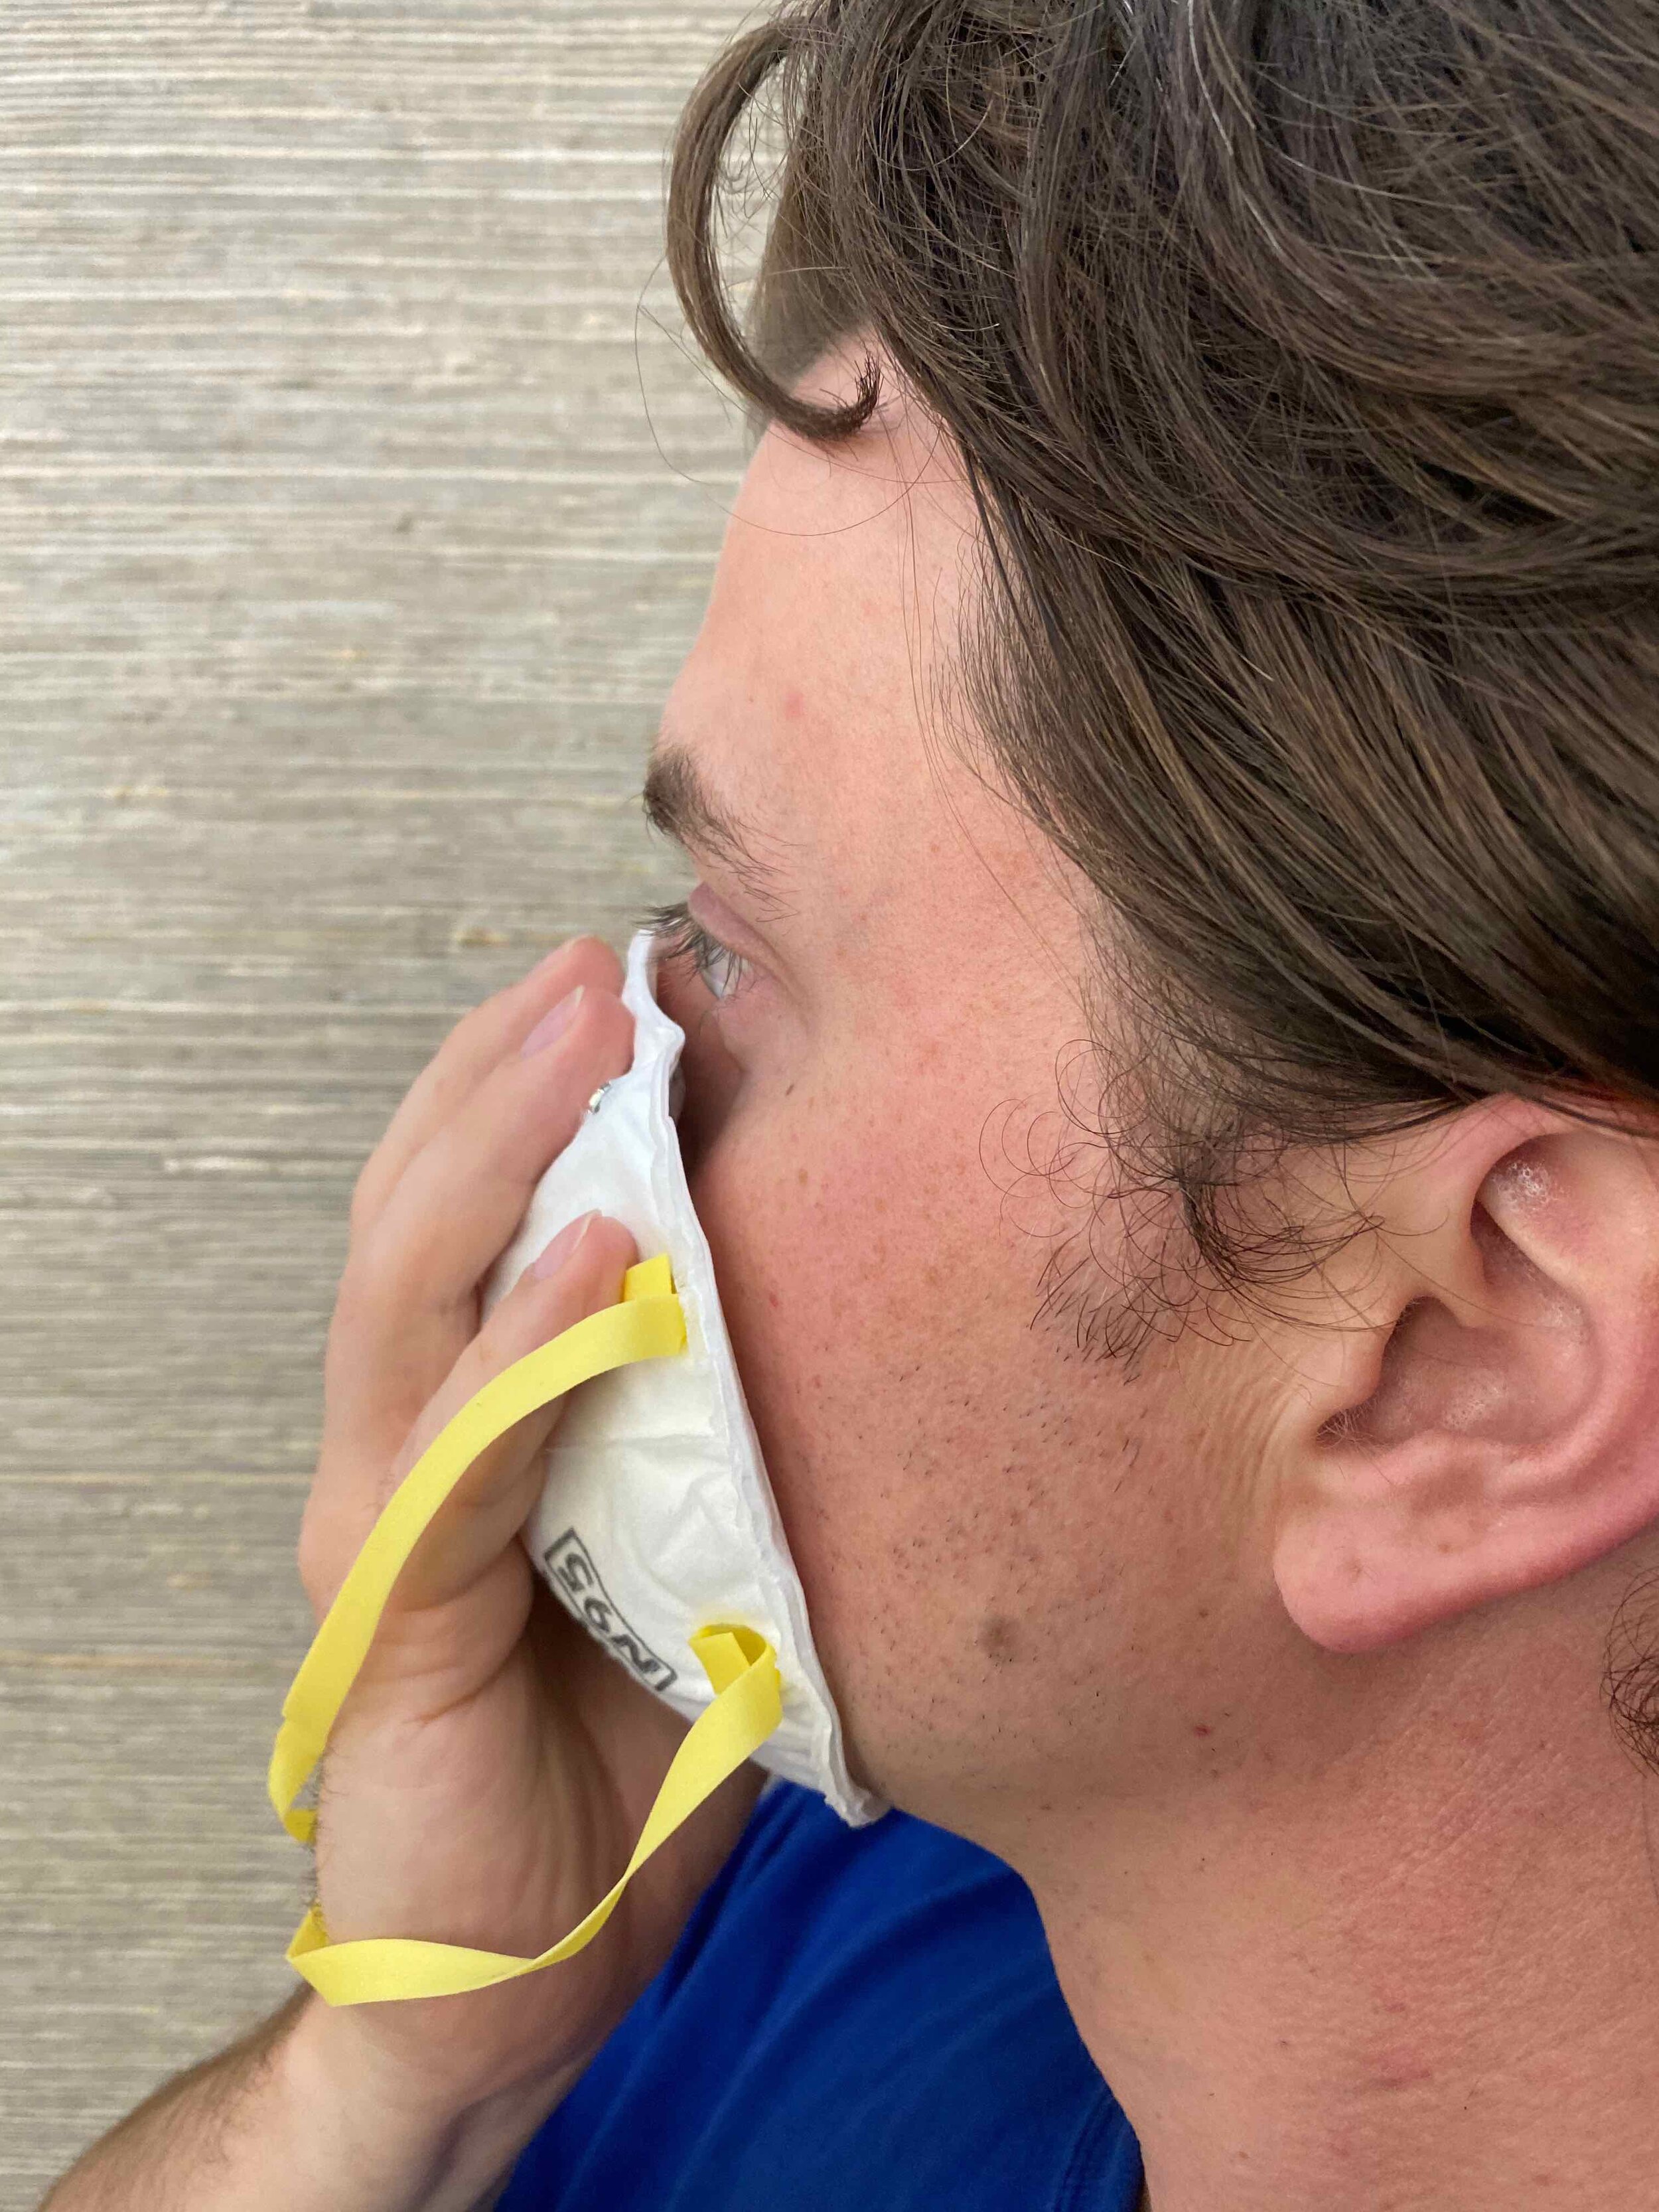
The second hand will take the bottom strap and pull it over your head to the back of your neck. You will then pull the remaining top strap onto the crown of your head.
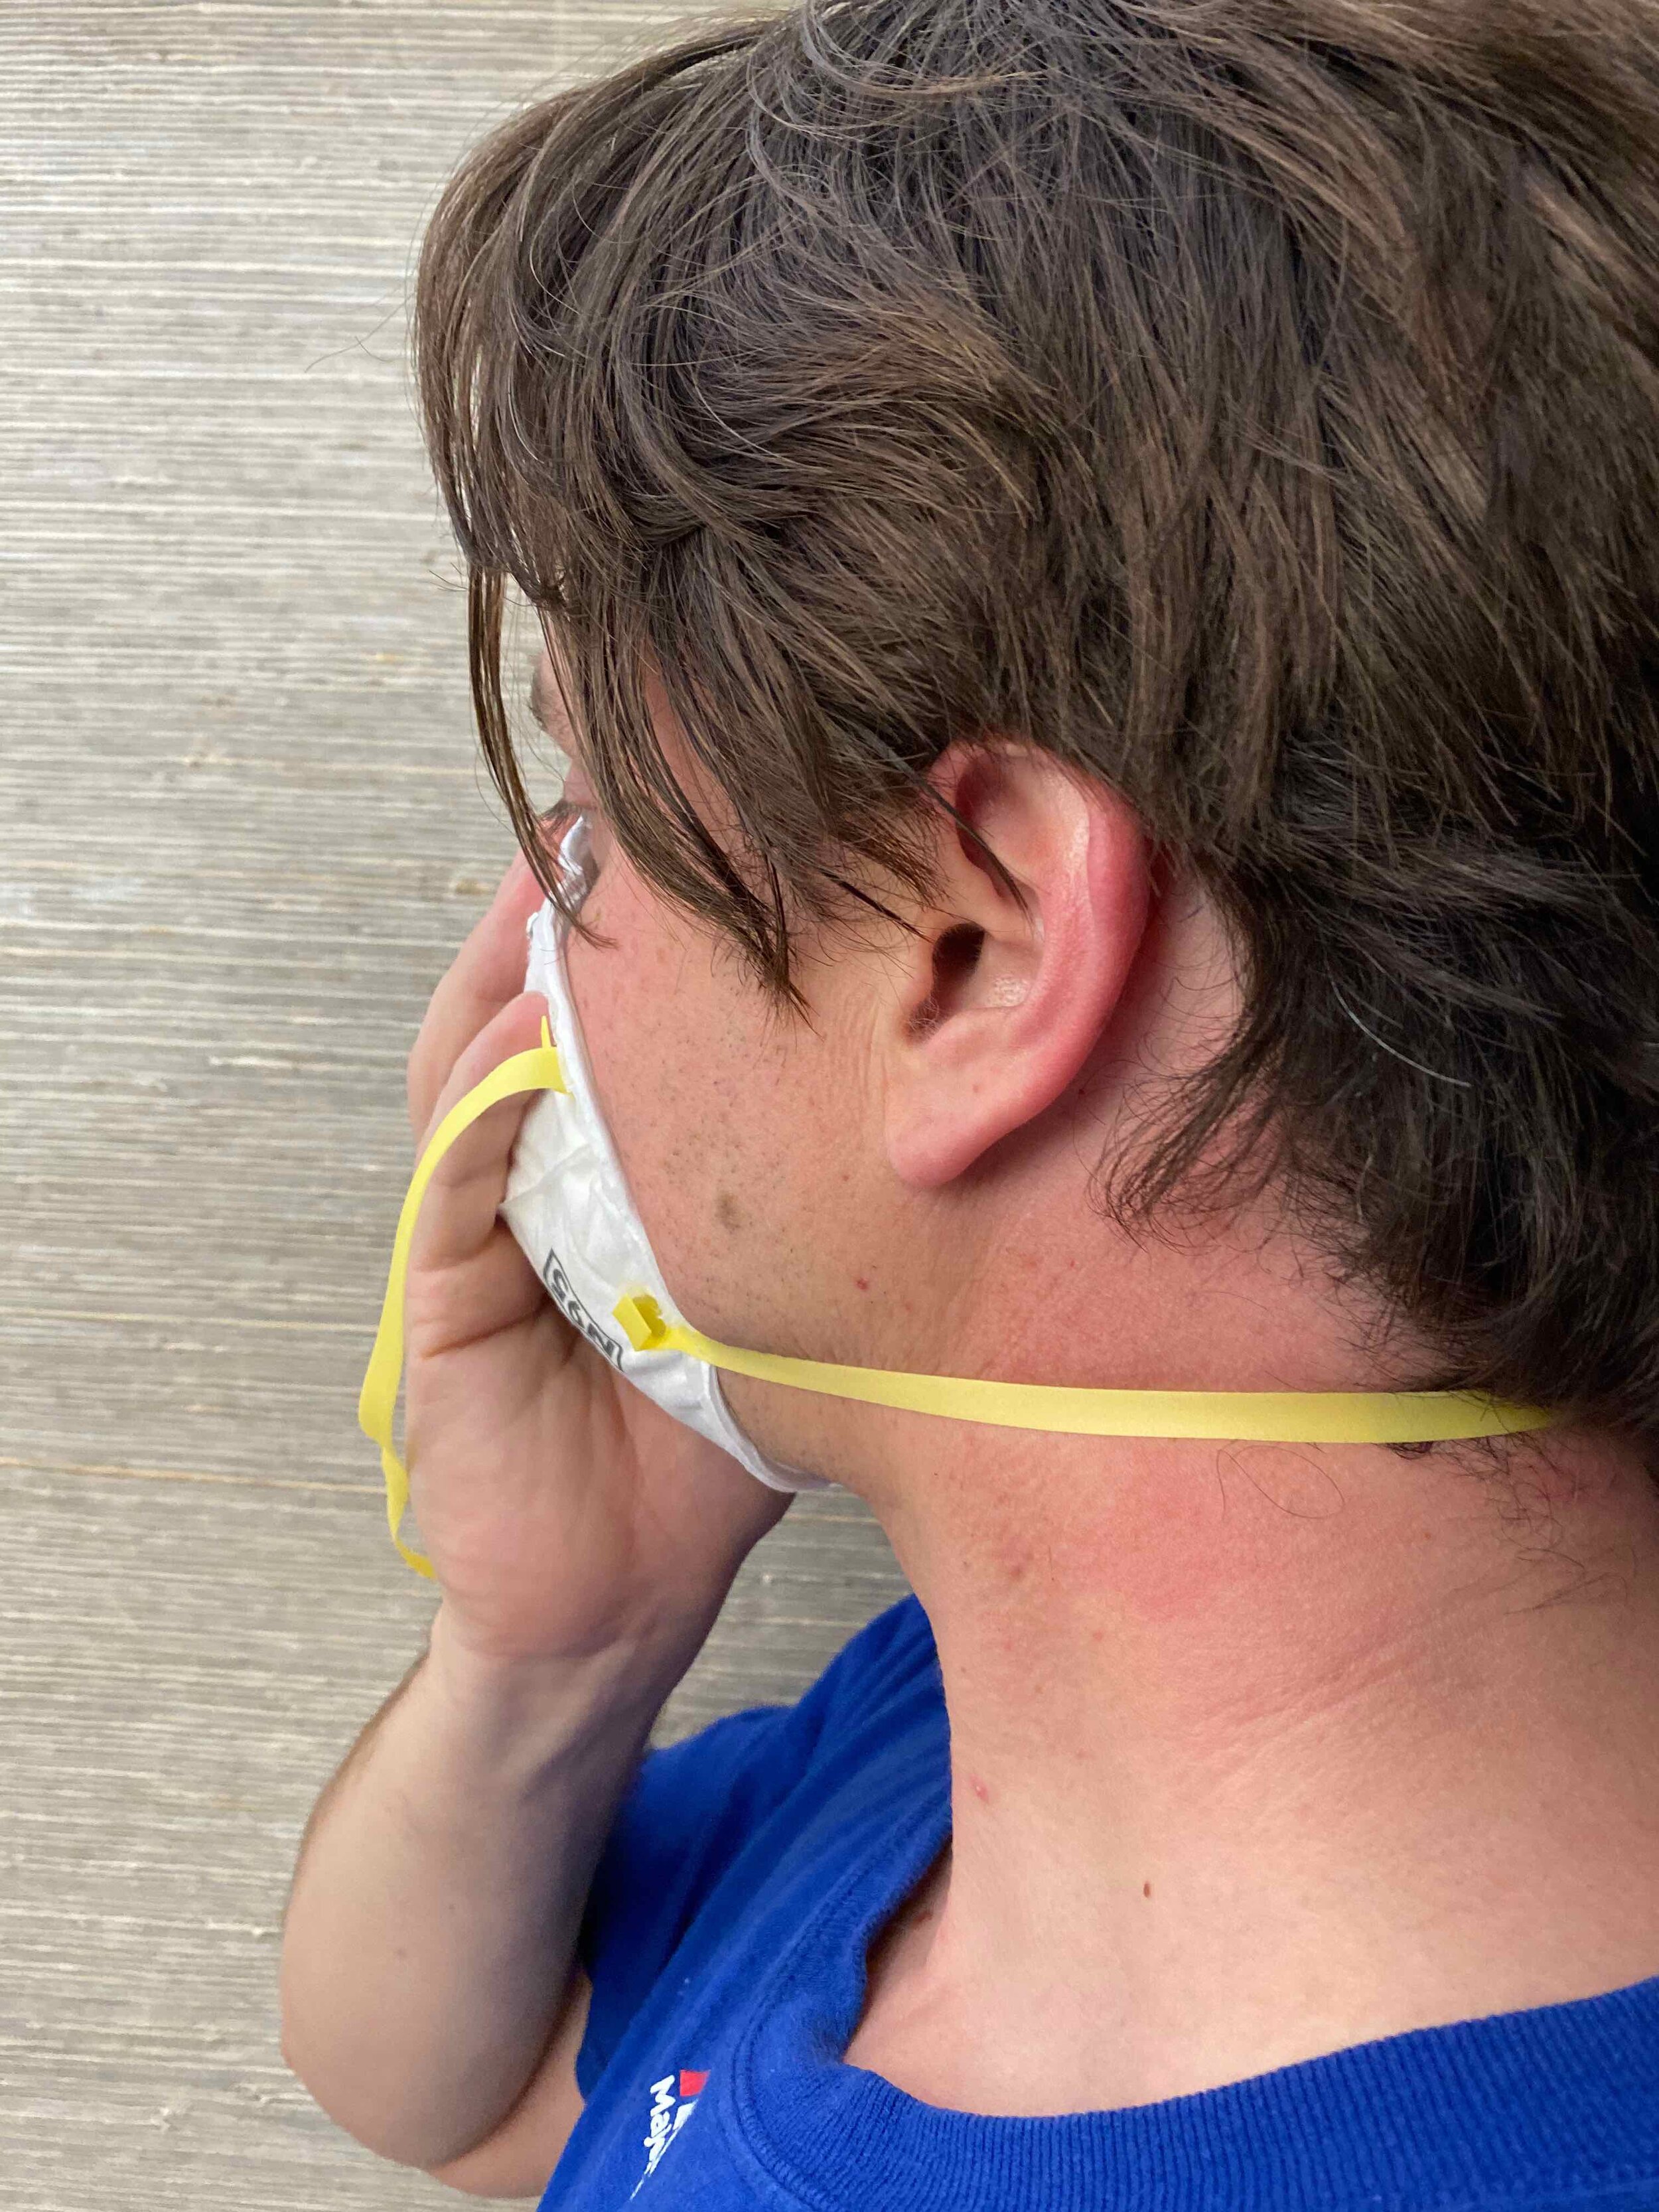
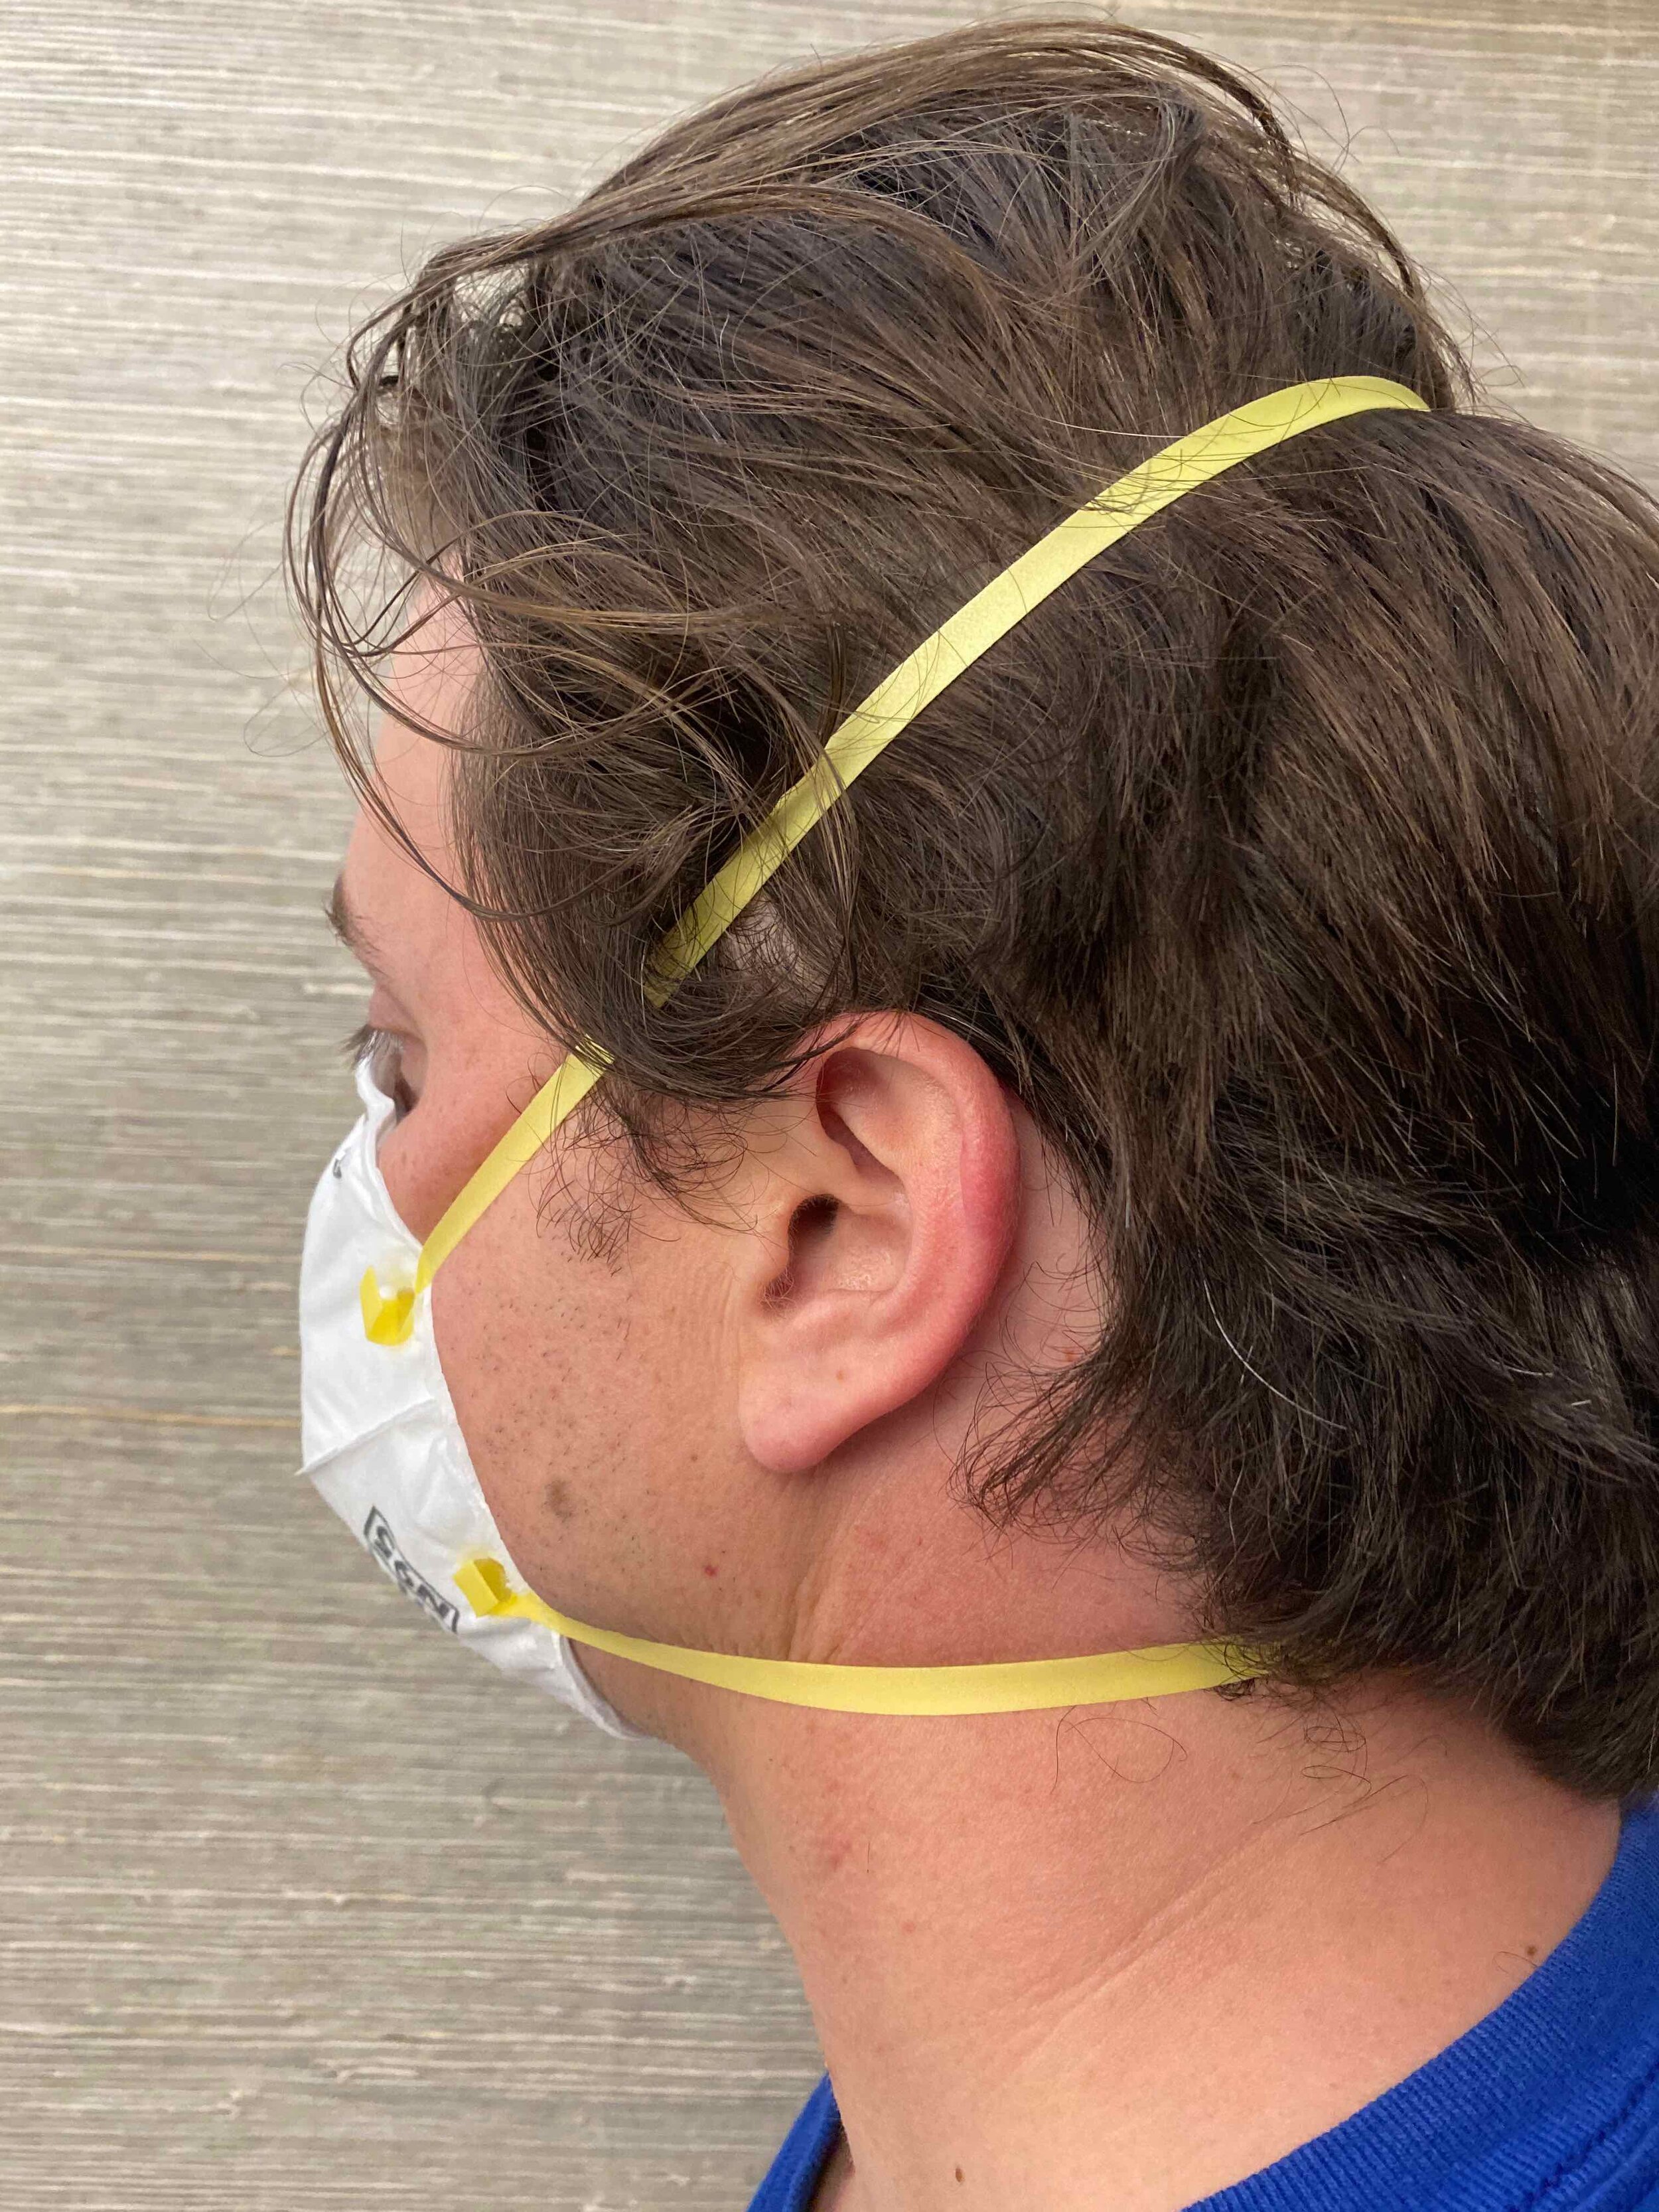
Having both straps properly positioned on your head ensures that pressure of the mask is evenly distributed on your face.
Tip: Positioning the mask while looking into a mirror will allow you to properly center the mask, which is extremely important in gaining a proper seal on your mask.
Step two: Mold the nose bridge
After the mask is held to your face with the straps in their proper positions, you will now mold the nose bridge to form to your face. With the pointer and middle fingers on both hands positioned on each corresponding side of your nose, apply pressure to the nose bridge and work your way down the nose. This approach will apply the right amount of pressure and mold the nose bridge to your facial shape.
Tip: Never pinch the adjustable nose piece with one hand (i.e.: pointer finger and thumb), this will apply uneven pressure on the nosepiece and can reduce the effectiveness of the seal of your mask.

Step three: Check your seal
Now that the mask is properly seated on your face, you will perform a positive and negative seal check. This is performed every time a mask is placed on your face and confirms that the mask seal is performing correctly.
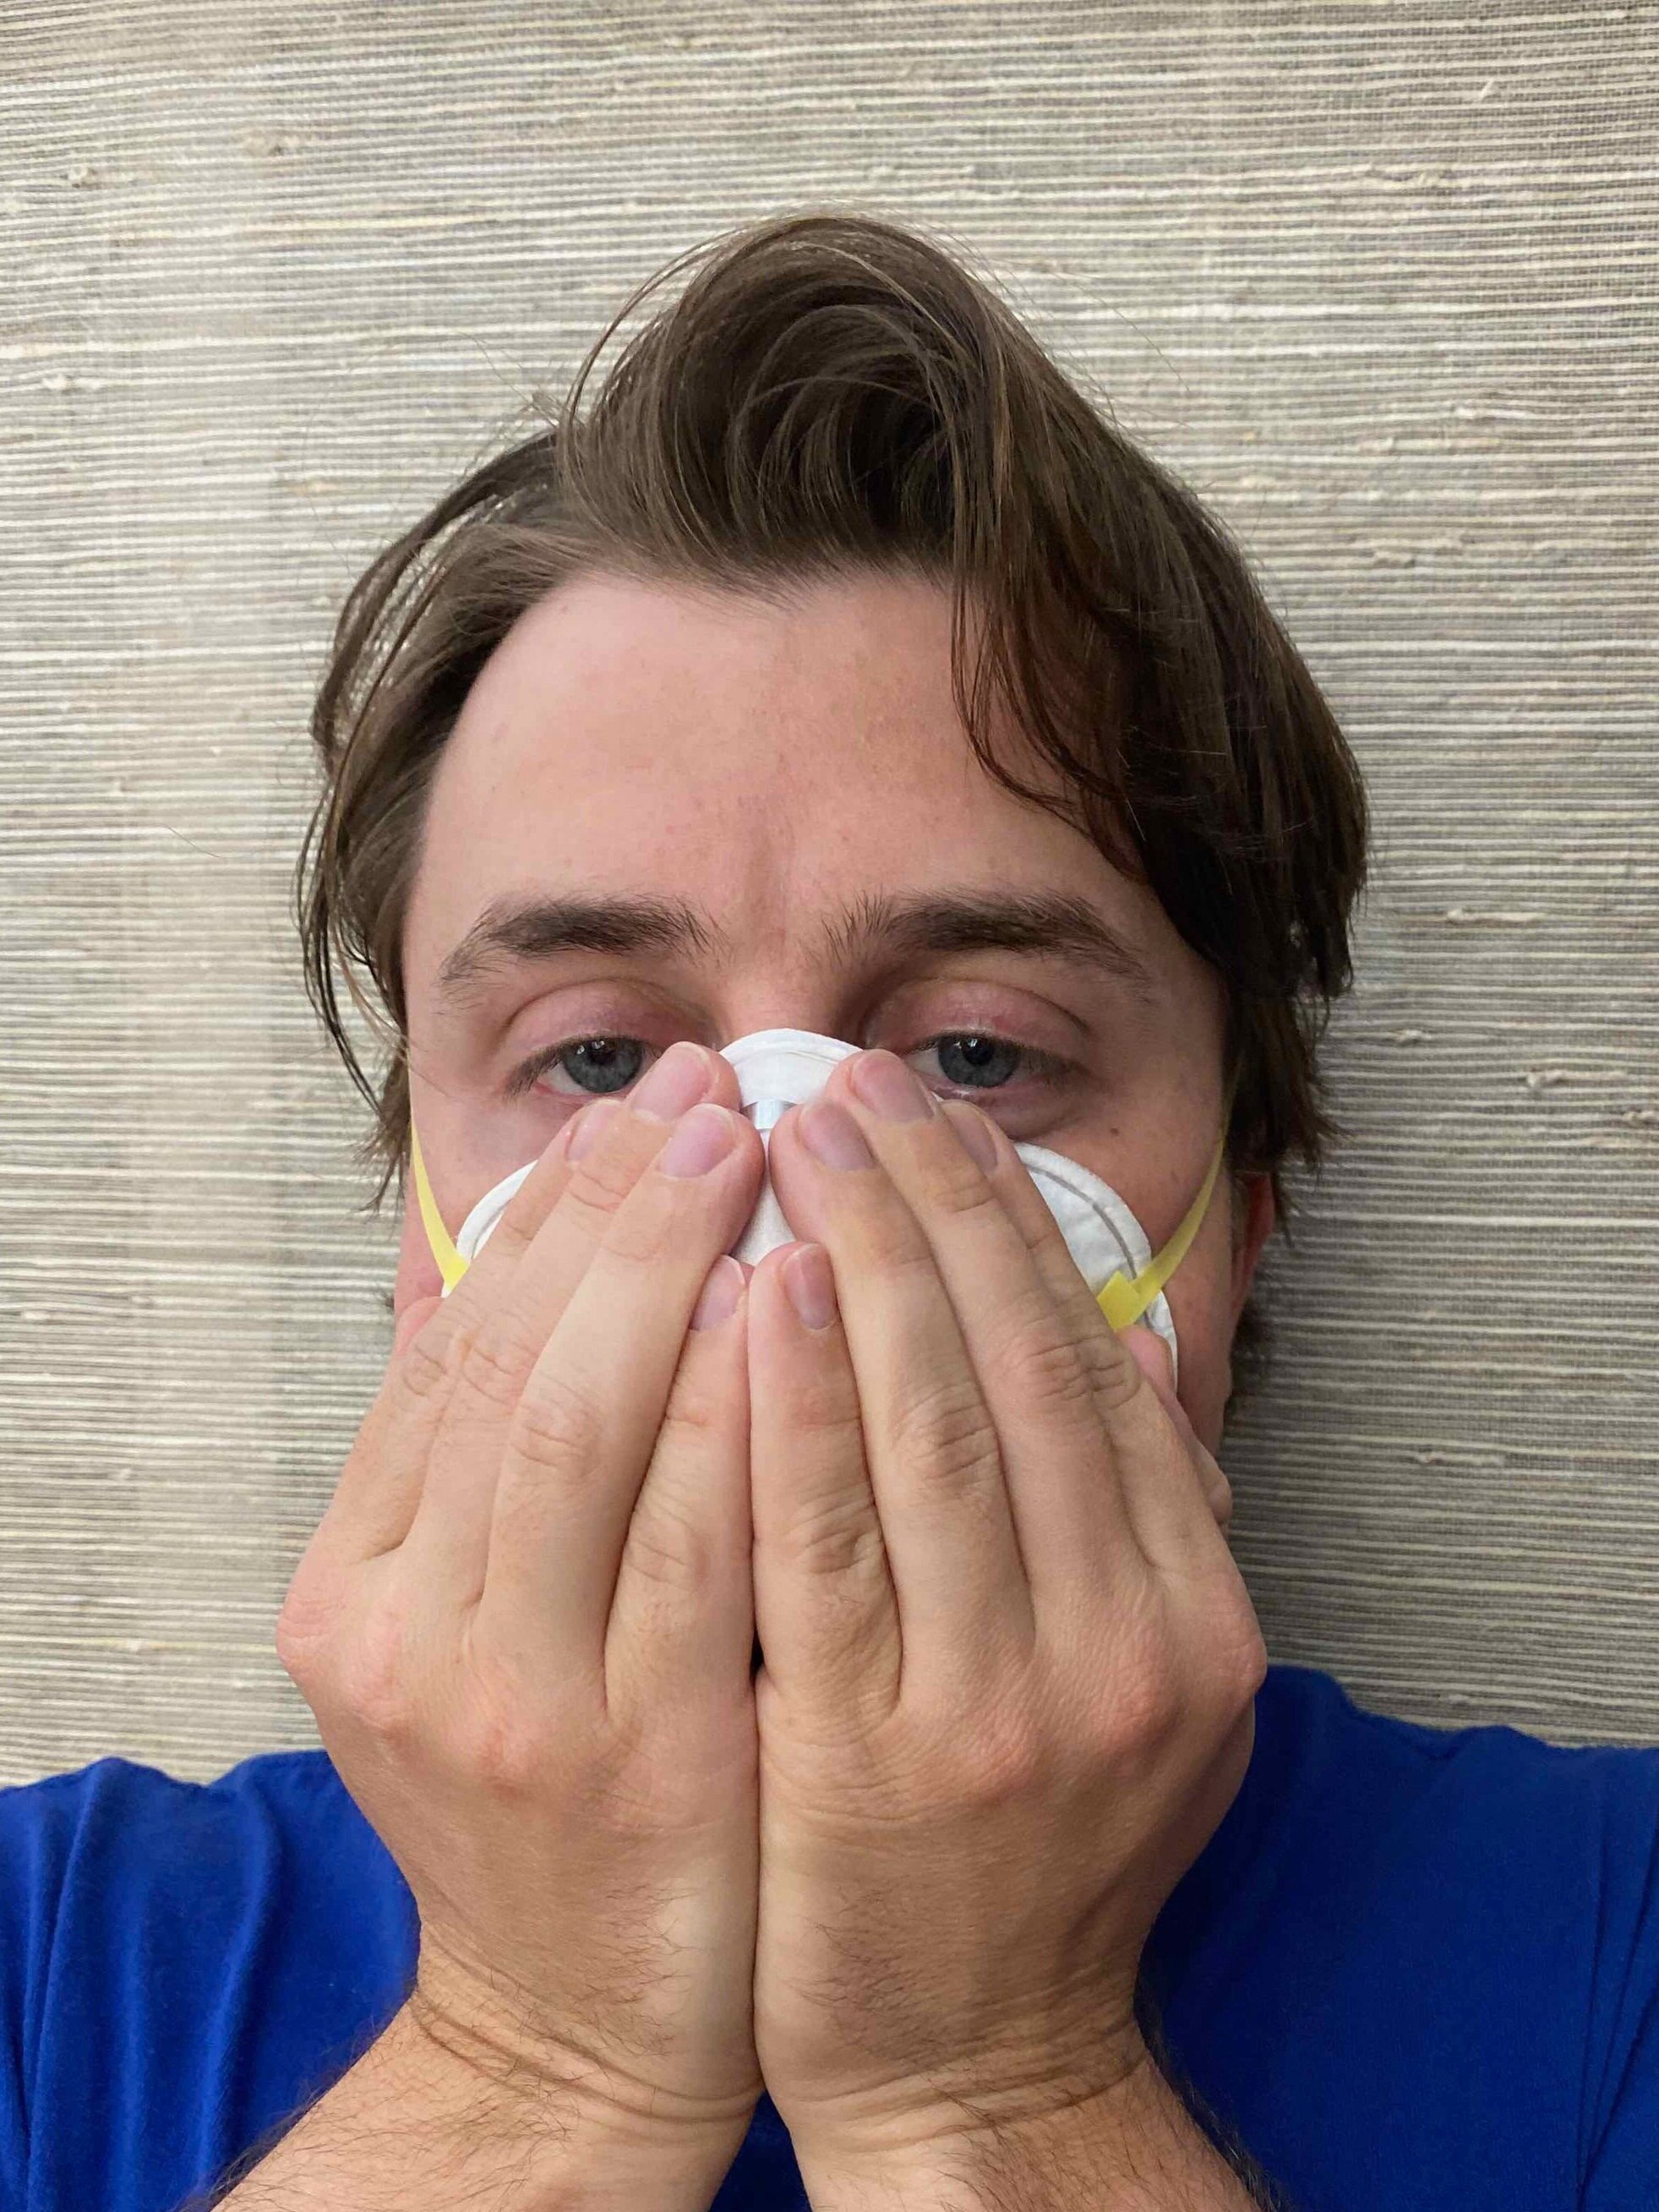
First you will perform a positive seal check by cupping your hands together and covering the mask without overly applying pressure directly to it. Take a deep inhalation breath and you should feel the mask lightly sucking to your face.
Next you will perform a negative seal check. Cup your hands together and cover the mask without overly applying pressure directly to it, just as you did in the positive seal check. Now you will exhale into the mask and should feel air slightly escaping through the nose bridge but nowhere else.
Performing this step every time you put the mask on is a way to ensure it is properly fitted to your face and providing the intended protection.
Additional considerations if your profession requires you to wear a mask
If your profession requires you to wear a mask, two additional steps are required by the Occupational Safety and Health Administration (OSHA) in order to properly determine if you are physically capable of wearing a mask and that the mask fits your face properly. The first step is to complete a Respirator Medical Evaluation Questionnaire. The second step is to participate in an annual Qualitative or Quantitative respirator fit test.
Under OSHA 1910.132 (https://www.osha.gov/laws-regs/regulations/standardnumber/1910/1910.132), employees that are required to wear a mask in order to perform on-the-job duties will complete a respirator medical evaluation. The respirator medical evaluation is designed to identify general medical conditions that could place a worker at risk of serious medical consequences if a mask is used. This is an OSHA document that will be filled out and approved by a physician or other licensed health care professional.
After receiving approval on a respirator medical evaluation, a respirator fit test is required annually to ensure the manufacturer, model, size and style respirator properly fits. Not every person or facial shape is the same, so finding a proper fitting mask is pivotal in ensuring that it provides an adequate level of protection. A respirator fit test can be performed Qualitatively or Quantitatively. Once a fit test is passed, you will wear that specific type of mask you were fit tested on (same manufacturer, model #, size and style) for the year, until your next annual fit test. Performing the proper donning exercises with the approved mask worn during fit testing will ensure proper respiratory protection each time it is worn.
Due to the recent COVID19 pandemic, masks and fit testing kits/equipment are facing a severe shortage. Due to this shortage, owning a properly fitting mask and being fit tested may not be possible. By taking the appropriate donning steps summarized above you will greatly improve the fit and efficiency of the mask you are wearing.
If you have questions about N95 respirators, OSHA Fit Test Standards, respirator fit testing or any other workplace safety questions, please don’t hesitate to contact our team @ 800-331-3218. We are here to help!